Removing the plug from an exercise ball is a simple task that can sometimes seem tricky without the right technique or tools. Whether you need to deflate the ball for storage or want to adjust its air pressure, knowing how to safely remove the plug without damaging the ball is essential. Today, we will provide a step-by-step guide on how to effectively remove an exercise ball plug, covering the tools you’ll need and offering tips to make the process smoother and safer.

Contents
- 1 How To Remove Exercise Ball Plug?
- 2 Frequently Asked Questions
- 2.1 How important is the maintenance of an exercise ball?
- 2.2 Does the size of an exercise ball matter?
- 2.3 Is an air pump essential for an exercise ball?
- 2.4 Can the exercise ball be used for different workouts?
- 2.5 Is an exercise ball suitable for home workouts?
- 2.6 How do you correctly deflate an exercise ball?
How To Remove Exercise Ball Plug?
Removing the plug from an exercise ball can be done easily with the right tools and approach. Here’s how you can do it:
1. Locate the Plug:
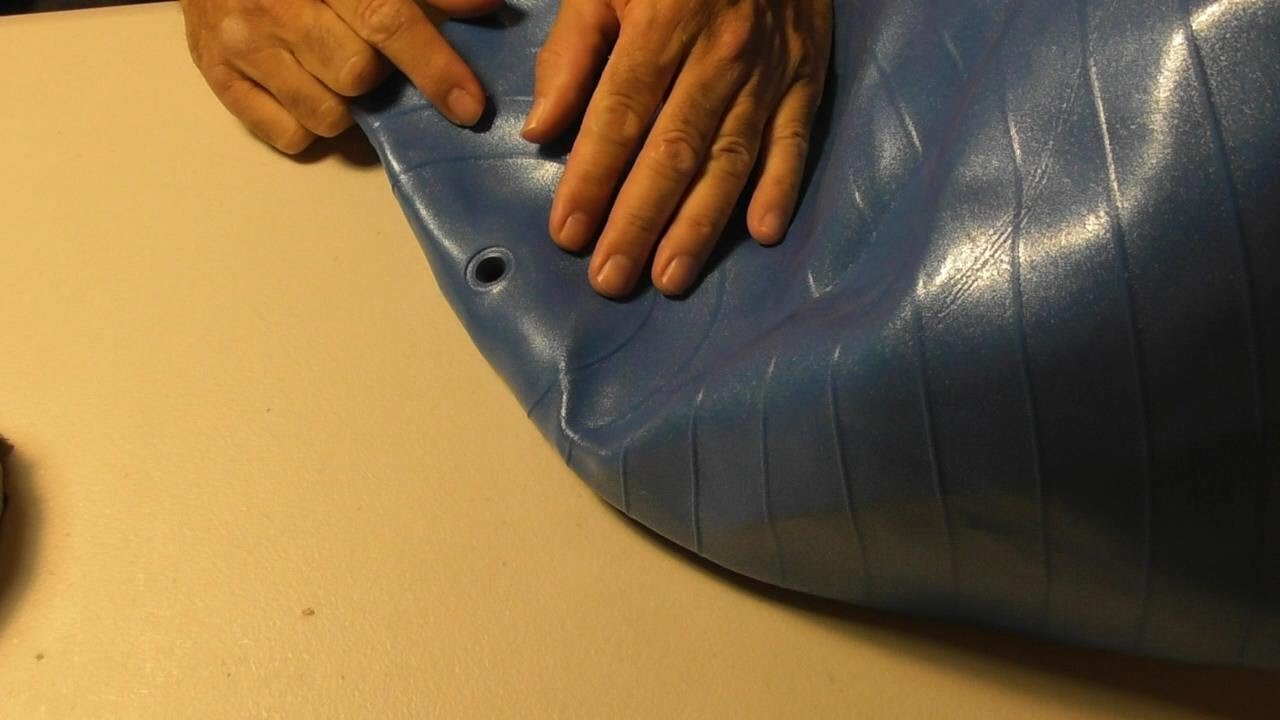
First, find the small, circular plug on your exercise ball. It’s usually distinct in color compared to the rest of the ball. This plug seals the air inside, ensuring that the ball maintains its firmness and shape when in use. Identifying the exact location of the plug is crucial as it’s your starting point for any adjustments or maintenance you need to perform on the ball.
2. Prepare Your Tools:
You’ll need an appropriate tool to remove the plug. A plug puller is ideal if it came with your exercise ball. If not, household items like tweezers, a flat-head screwdriver, or a spoon’s edge can work. Choose a tool that is sturdy yet gentle enough to not damage the ball’s surface. Make sure the tool can fit easily under the plug’s edge without slipping.
3. Insert the Tool:
Carefully insert the edge of your chosen tool under the lip of the plug. Be cautious to avoid pushing too deeply to prevent puncturing or tearing the exercise ball. The goal is to get just enough leverage to begin lifting the plug without harming the ball’s material. This step requires precision and patience to ensure that everything goes smoothly.

4. Pry Upwards:
Once the tool is in place, gently pry the plug upwards. Use the tool as a lever to lift the plug out of the ball. This may require some effort, depending on how tightly the plug is fitted. Apply steady pressure; if the plug does not come out easily, adjust your tool’s position slightly for better leverage but avoid using excessive force.
5. Remove the Plug:
When the plug lifts off enough for a good grip, use your fingers to pull it completely out of the ball. If resistance persists, continue to use the tool for additional leverage until the plug is fully removed. Handle the plug carefully to avoid damaging it, as you will need to replace it after adjusting the ball’s air content.
6. Deflate or Inflate as Needed:
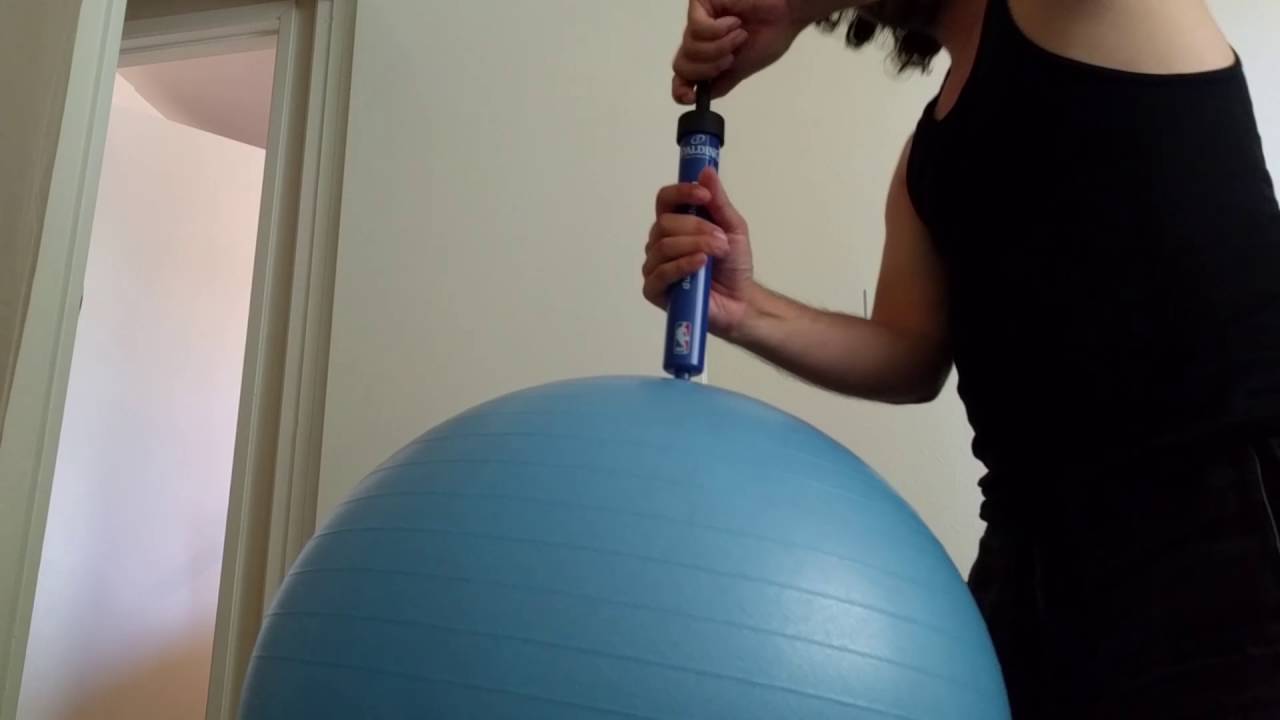
With the plug removed, you’re now ready to deflate the ball for storage or inflate it to adjust its firmness. This flexibility allows you to use the exercise ball for a variety of workouts and storage options, making it a versatile tool for fitness enthusiasts.

7. Replace the Plug:
After you have adjusted the air to your satisfaction, ensure you replace the plug firmly to prevent any air leaks. Push the plug back into the hole until it fits snugly, protecting the integrity and functionality of your exercise ball.
Frequently Asked Questions
How important is the maintenance of an exercise ball?
Regular maintenance of an exercise ball, such as correct deflation and inflation, is crucial. It ensures optimal buoyancy and prolonged usage. Proper handling of the ball plug and plug remover and regular check-up is highly recommended.
Does the size of an exercise ball matter?
Yes, the size of the ball is very important. The ball’s diameter should match the user’s height for maximum effectiveness during workout sessions.
Is an air pump essential for an exercise ball?
An air pump is critical to an exercise ball. It helps make significant air adjustments to match the desired firmness of the ball.
Can the exercise ball be used for different workouts?
Absolutely! An exercise ball is highly versatile. It can be used effectively in diverse exercises, such as squats, push-ups, and more, to improve one’s core strength and balance.
Is an exercise ball suitable for home workouts?
Unquestionably, an exercise ball is perfect for home workouts. Notably, you can deflate the ball after fitness sessions making it easy to store, hence saving on your home space.
How do you correctly deflate an exercise ball?
Deflating an exercise ball requires proper handling to avoid damage. It usually involves pressing the ball around the plug area and simultaneously pulling the plug to allow air to escape gradually.

Hello, I’m Ravindra. Over the years, I’ve immersed myself deeply into the world of fitness and health, transforming both my body and mind. Writing has allowed me to share my journey, insights, and expertise with those just starting out and seasoned fitness enthusiasts alike. Beyond just routines and diets, I believe in inspiring others to adopt a holistic approach to well-being.
